Shared during the East Zone Physics EdTech Workshop 6 Aug 2024
The hands-on workshop for Physics teachers will focus on the use of generative AI to create physics simulations without the user having to write code. The collection of the apps made using AI can be accessed here and the github repository here. This deck of slides is made available here for the participants’ reference. The sample prompts that we will be using can be found at the bottom of this page.
The sample app that we hope the participants can produce will look something like this:
For your convenience, you may refer to the steps below.
STEP 1:
Open ChatGPT or any other GAI (e.g. Claude, CoPilot, Gemini)
STEP 2:
Copy these instructions and paste them into the AI.
- Put all the codes in one page.
- Create a canvas showing a ball dropped from rest from a height and bouncing off the ground using javascript.
- Using the plotly library, plot the graph of velocity versus time for the ball. The time of contact with the ground is negligible.
- Create an input box that allows the user to key in the initial height in metres.
- Create a slider that changes the percentage energy loss after every collision with the ground.
- Create a dropdown menu that changes the vertical axis to velocity or displacement.
- Initialise the animation and graph upon loading. Use a button to start and stop the animation.
STEP 3:
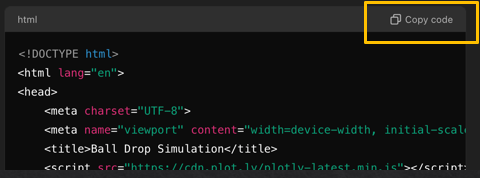
Copy the generated code using the button provided.
STEP 4:
Paste into editor here:
“Run in New Tab” to view and test the app. Download the html file once you are happy with it, or if you would like to add media objects such as images and audio.
STEP 5:
Be prepared to generate 10 or more versions! Repeat STEPS 3-4.
Debugging Options:
- Change the code manually yourself.
- Describe any unexpected behaviour / missing component to AI.
- Ask AI to try a new approach (usually after a few failed iterations).
- To save time, just ask AI to generate the codes that need to be changed. It will tell you where to update.
STEP 6:
Make the app look pretty!
- Optimise for SLS by asking AI to “limit the entire page to a size of max width 580px and max height: 460px”
- Ask AI to beautify the app with styling.
- Ask AI to add image / video / audio files into the code, giving it the filenames, e.g. replace the moving ball with an image of named “ball.png”. This is an example of such an image. You can right-click and “Save as” to save this image file into the same directory as the index.html file.

STEP 7:
To embed into SLS, you will need to copy the code libraries that are used (if any) in a new .js file. The code library is a collection of pre-written code that you can use to perform specific tasks, e.g.
- plotly.js for continously changing graphs
- chart.js for static charts
- papaparse.js for processing csv data
To make a copy of the file,
- Paste the link to the script on browser e.g. https://cdn.plot.ly/plotly-latest.min.js
- Save the page using the “Save as” option in the browser and place the file in the same directory as the html file.
- Rename the path to the file in this way:

STEP 8:
Download as HTML.
Save file as index.html. This is important for SLS packages as it will automatically load the index.html file by default.
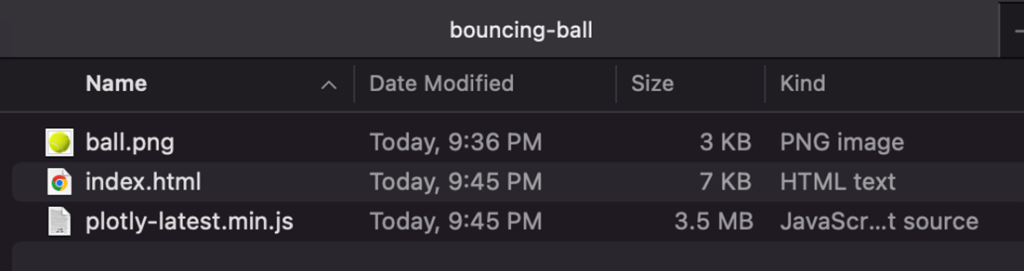
STEP 9:
Zip all the files and upload the zip file into SLS component. Follow the user guide on how to do so: https://www.learning.moe.edu.sg/teacher-user-guide/author/html5-content-development/#uploading-a-html5-zip-file-in-sls